It took 39 posts before I wrote about bacon.
I, for one, am rather tired of the whole ‘bacon all the things’ movement. Bacon, in point of fact, does not make everything better. A blasphemous statement, I know. Sometimes the truth hurts.
That is not to say, however, that I don’t think bacon is absolutely awesome. Because it is. Especially good bacon. In a fit of high spirits at the grocery store one day, I picked up a package of Wright brand thick cut applewood smoked bacon. I figured it would be good for BLTs, especially since it was so thick and hearty.
… I have been ruined for other bacon. I’m not sure I’ll be able to go back to the regular ol’ stuff. Certainly not if it’s going to be eaten on its own. It just has a depth of flavor that cheap, thin sliced bacon can’t hold even hope to match.
But I digress (as I often do)…
What I’ve really set out to do here today is talk about the process of cooking bacon. While I happen to feel that I have above average cooking skills and am fairly handy in the kitchen, I am freaking terrible at cooking bacon. It either winds up overcooked, undercooked (or occasionally, miraculously, both), and I inevitably burn myself. No one is happy in this scenario, least of all the bacon.
Enter oven cooked bacon.
I’m not entirely sure what horrible thing I did in a past life in order to have to spend 33 years of this life not knowing about oven cooking bacon. Thankfully, I seem to have atoned for any wrongs, and now I never want to cook bacon any other way. It’s so easy, practically foolproof, and you don’t have to stand there and watch it while it cooks. And so, without further ado…
Oven Cooked Bacon
- Preheat your oven to 400° F.
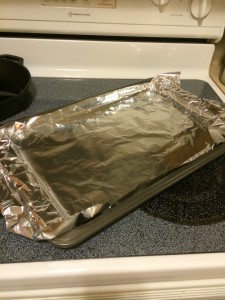
- Line a rimmed baking sheet with foil. This step is important for a few reasons. First, the rimmed pan keeps the bacon grease from running all over the inside of your oven (duh). The foil makes clean up 100% easier, but it also allows you to make a little spout at one corner when you need to drain off said fat halfway through cooking.
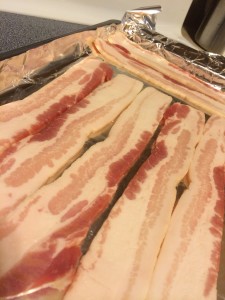
- Lay the bacon out in a single layer. It’s okay if the pieces touch, but they shouldn’t overlap.
- Put the pan of bacon into the oven. The cooking time is going to depend on a few factors: how crispy you want your bacon, how much fat it has, and how thick the pieces are cut. I find a total cooking time of about 20 minutes works well for that thick cut bacon that I’m so in love with.
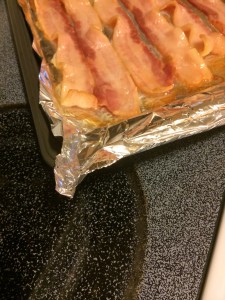
- Halfway through the cook time (so, 7-10 minutes depending on your bacon), check to see how much fat is in the bottom of your pan. This is another thing that varies every time. If there’s a significant amount of fat pooling in the pan, you’ll want to drain it. This is where that foil lining comes in handy again. You can pull one corner up a bit to form a spout to help make draining easier.
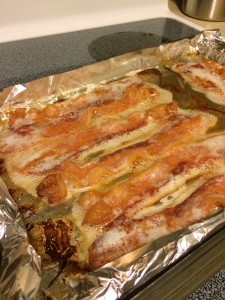
- Put the pan back into the oven to finish cooking. As it nears completion, be sure to check on it from time to time. As I said, this method is nearly foolproof. Nearly. It is still entirely possible to ruin a batch of bacon this way, which, let’s face it, is a crime.
- When your bacon has reached the desired level of doneness, remove it from the oven. Place your bacon strips on a plate of paper towels to drain.
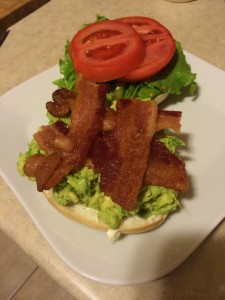
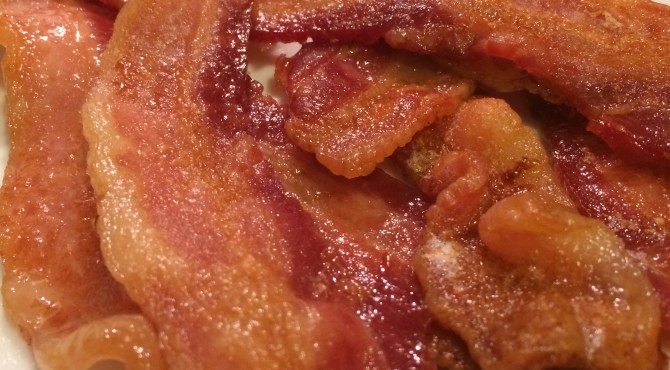
Et voilà! Perfectly cooked bacon, ready for anything. Including just being eaten. Or…. made into an exquisite BLT with avocado. Because avocado makes everything better.
No longer must I face the shame of not being able to properly cook bacon or having to depend on others to cook my bacon for me. This has been a much needed step towards becoming a better person.
